Thursday, March 31, 2011

Down

I think it is pretty common to blow dry your hair upside down. This does give volume. But if you ever struggle with frizz or damaged looking hair, this is not the technique for you. See the outside layer of your hair is called the cuticle. When the cuticle gets roughed up and opens, your hair looks damaged. Many things contribute to this cuticle damage. When you smooth the cuticle layer flat your hair looks more shiny and healthy. By blow drying upside down you are blowing against the cuticle...resulting in potential frizz. If you hold the dryer towards the root and blow down, it will encourage the cuticle to close leading to smoother, less frizzy, more healthy looking hair.

Now blow drying this way will not actually repair damage that has been caused by coloring or perming, but it will aid in hiding that damage. This is just one tip to achieving that look...there are many, many more to come of course!

roughed up and yuck
healthy and smooth

Wednesday, March 30, 2011

Cool down

Hair color fade got ya down? Well here is a quick tip. One thing you can do to extend the life of your color aside from washing your hair less, is washing it in cooler water when you do. Hot water opens the cuticle of your hair. When the cuticle opens, color molecules escape causing your color to fade. So by cooling off your water a bit, and opening the cuticle less, your color will hold on longer. I am not talking freezing here, just not steaming hot like you might be used to. Shower as hot as you want, but turn it down for the wash. Also remember the importance of color safe shampoo!

Tuesday, March 29, 2011

Tuesday How To

So I got an email from one of you fabulous followers requesting a "how to" on a certain hairstyle. First of all thank you for the request. I loved it. So it made me think, why not do a tutorial a week on different styles and techniques? Sound good? So here is the first of many "Tuesday How To's". Allow me to make excuses for a minute as well. I have never written anything like this before and I seem to struggle in the area of teaching. But I will do my best. I am sure they will get better from here. So bare with me as I figure this out. I hope you are able to learn at least one helpful hint!

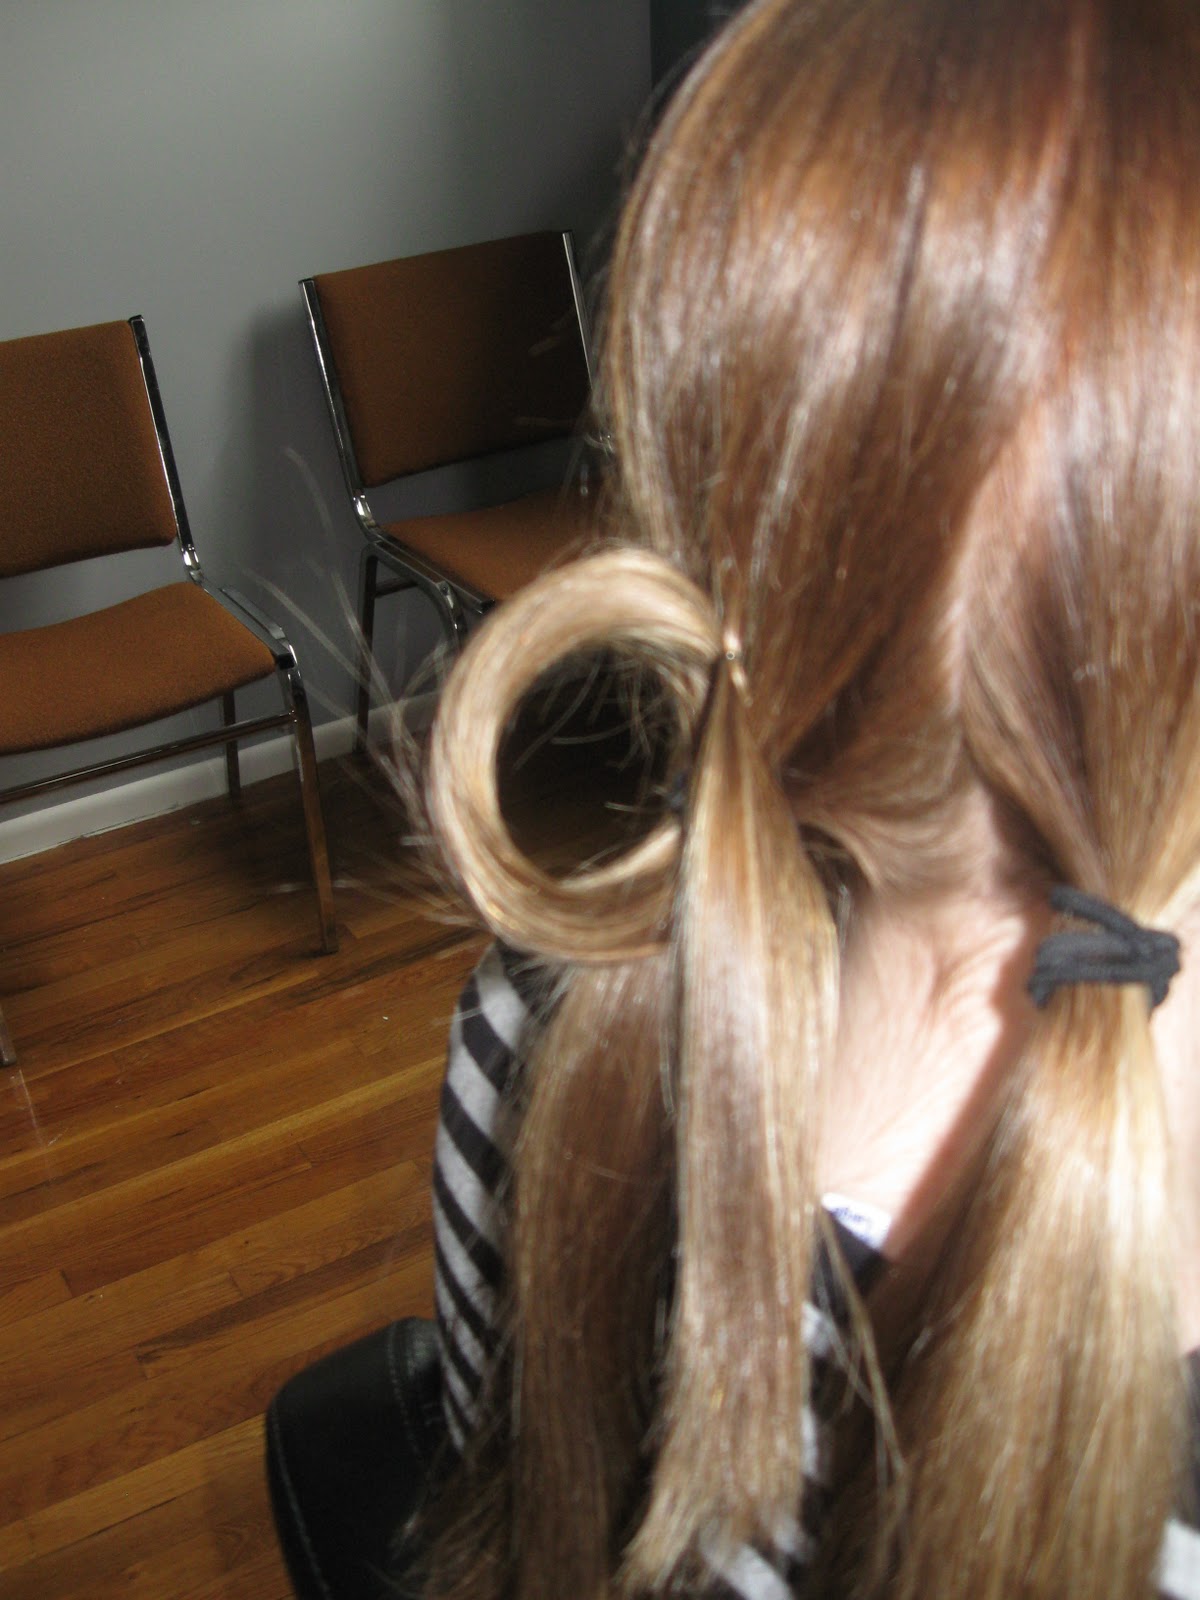
Today we will be doing this:

Whenever you see a hairstyle you like try to break it down into easier parts. It can be overwhelming as a finished product but taking it a step at a time will always help. Also, always consider that you do not have the exact same head of hair as the person you are looking at. So your version will undoubtedly vary. Last, it can be tricky to recreate the same hairstyle twice, so you might not get piece for piece the exact look, but embrace what you have and put your personal spin on it. Let's get started!

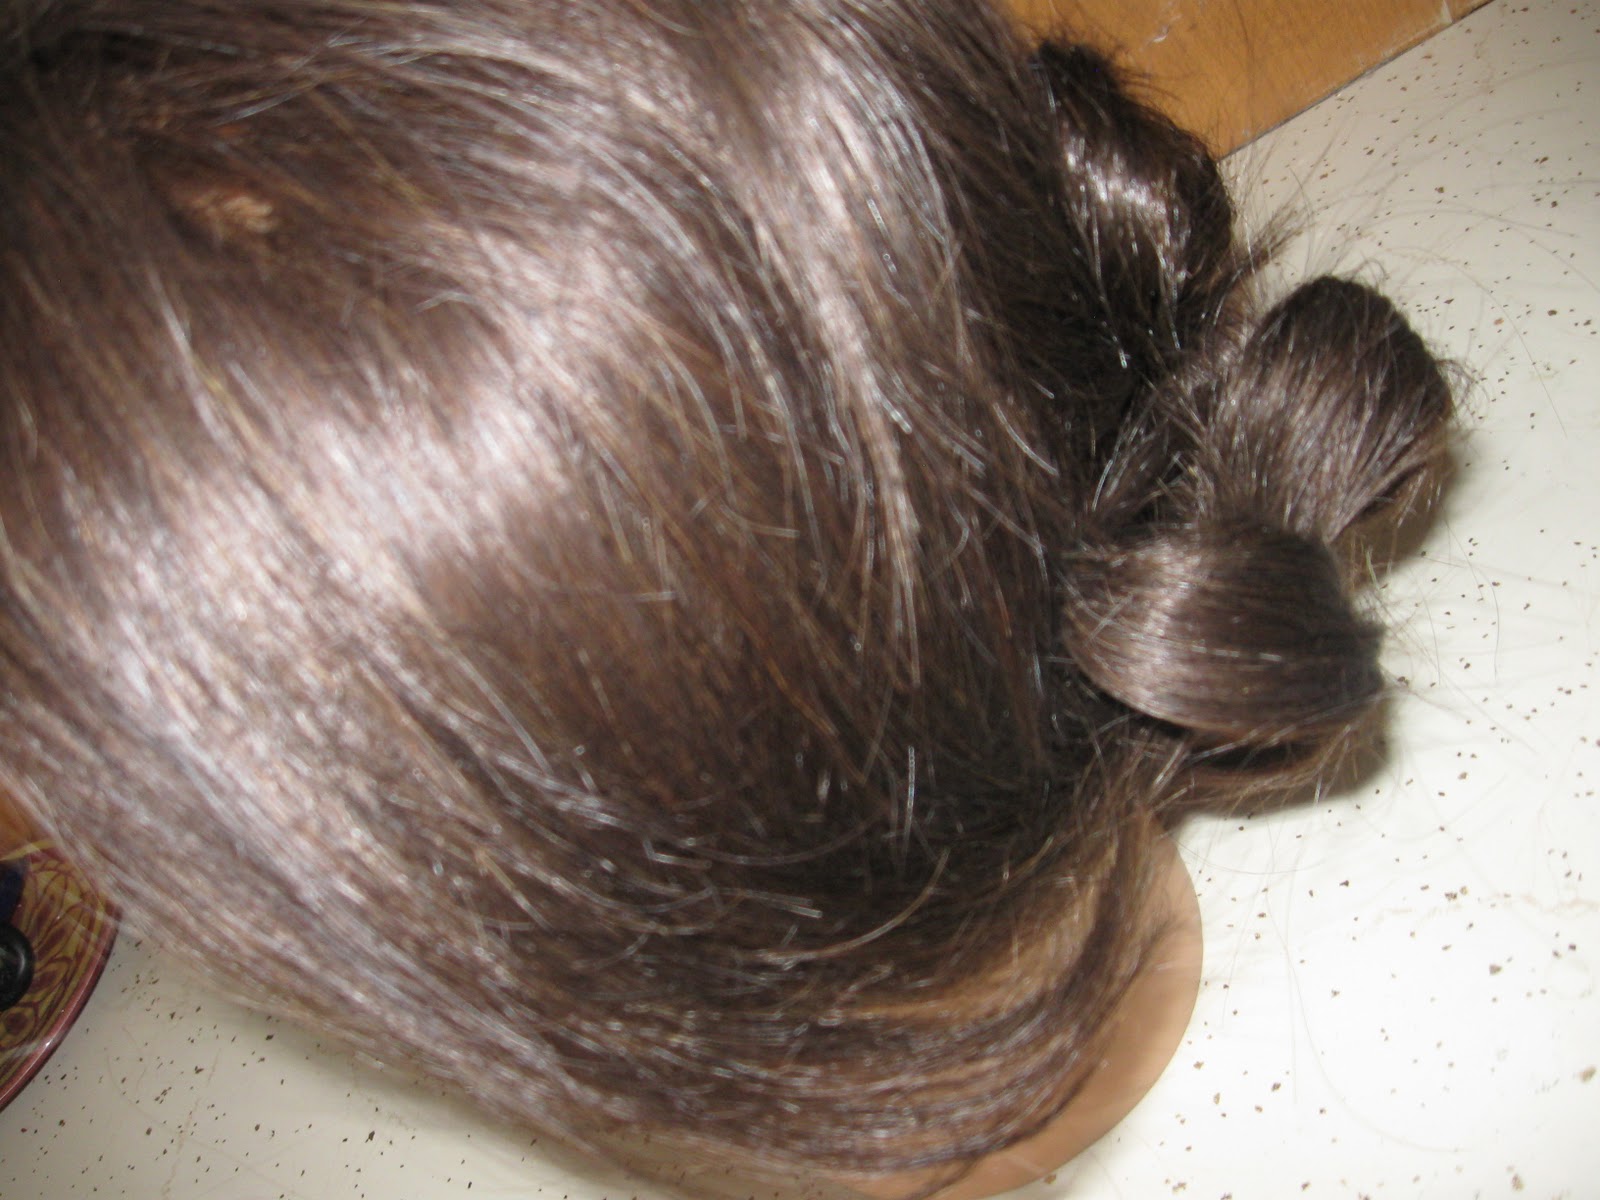
Today I have two models helping us out. Kelsey is the real life person, and Jane is the sweet head that got me through my state board exams back when I took them. They both have very different hair types and neither have the hair of the girl in the above picture. So these styles will vary a bit but should give you the foundation to achieving this look. 

You will need:
  • ponytail holders
  • bobby pins
  • hairspray (aerosol of course)
  • pomade


  1. Start by pulling your hair back into low pig tails, or even three ponytails.

2. Next, take a small section and spray it to make it more workable.
3. Twist section around in any direction creating a loop, open the bobby pin then insert it in to hold twist.


4. Continue twisting and pinning until the back of your head is evenly covered. The easiest way to do this on yourself is to just check the back of your hair with a mirror after a few twists to see where you have empty space to fill then place the next loopy twist there. 


Poor Jane definitely did not quite have enough hair to pull off this style, and Kelsey's length made it end up a bit different as well, but like a said, embrace what you have and do your best! Doing your own hair can be far more challenging then on someone else. Be patient and just play around. For this style just remember to spray, twist, loop, pin and repeat. It doesn't have to be perfect. Just have fun!

And this concludes our first tutorial. Like I said, it can only go up from here right? Thanks for reading and please feel free to email me any requests or questions! Happy pinning!

Monday, March 28, 2011

Go ahead and dry it.

What does everyone want deep down? That perfect haircut. The one that falls into place on its own, always lays right, and looks fabulous with half the work. How do you get this? The biggest tip I have is LEAVE WITH DRY HAIR! Very rarely does a sprayed down leave the salon sopping special really end up being that haircut of your dreams. Why? So glad you asked.

As a very wise woman once said to me "wet hair lies". Think about it. Fresh out of the shower what does your hair look like? Can you tell how curly or straight it really is? Can you see those crazy growth patterns that haunt you every morning while styling? Is your hair the same color as when it is dry? Can you see how coarse or fine your hair is? I believe NOT!

From a stylists perspective how am i to tell if you have a perfectly blended haircut that lays just the way you want when your hair is wet? I just can't. Too many things change in hair from wet to dry. Also when hair is dry that is when you can completely texturize a cut, something that makes ALL the difference. I always do the initial cut wet, but then the majority after I dry it. I promise you will get better results. Promise.

SO please, next time you get a cut, spend a little more and add the style or go somewhere that is all inclusive. Not only do you then get to enjoy a nice wash, and someone else styling your hair for a change, you will dramatically enhance your satisfaction with the cut.

Friday, March 25, 2011

Friday FUN!

OOOOk it is FINALLY the weekend. Let's have some FUN. Ever wish you could just try on hair before you commit to actually cutting it or coloring it? Well you can! Sort of. There is is fun site that if nothing else will give you a few laughs to start your weekend out right. But if you squint and really try, I think it actually can give you a bit of a preview. It might just be enough to assure you to go through with a dramatic cut, push through the awkward grow out stage to get luscious length, or find out if blondes really do have more fun. To show you just how fun it is? I played a bit. I am being SO kind and sharing some awesome pics of myself (yes I am in my pajamas as I usually am by the time of night I write these posts).

Seriously how can you NOT laugh? 
Just slick your hair back and take a super sexy picture of yourself. Then follow the steps on the site and play around with different cuts, styles, colors, and even different makeup trends. I was laughing out loud to myself here while I messed around. It is quite entertaining. So go ahead and have some fun rocking any style you want. Click HERE for a weekend of fun. Oh and the best part? It is completely free!

Thursday, March 24, 2011

Frame it.

How do you automatically make your eyes pop and your whole face look improved? It is all about the brows my friends. Filling in your brows can be challenging and time consuming. And if you haven't been doing it you may think you look funny at first. But it makes a WORLD of difference! As my makeup artist instructor once explained, your brow is the frame for your eye, and really your whole face. You will be SHOCKED at how much better all your makeup looks with a good strong brow.

So where am I going with this? This isn't JUST a campaign for everyone to go for darker, more noticeable brows. Next time you are getting your hair colored, ask your stylist to add a little to your brows (unless you are going lighter of course...bleaching the brows is NOT recommended...at least by me).  It takes no time at all, and they most likely have a touch of extra color anyways. It will totally change your face AND cut time off in the mornings so you don't have to pencil them in. Totally a win win. And remember, always tint THEN wax. Never the other way around.
I couldn't help but include Bert. Whenever I think about eyebrows he is on my mind. You might feel like you look like this the first few days after changing your brows, but I promise, you don't.

Wednesday, March 23, 2011

Faking it.

I hear two things from almost every client I have when we are finishing up their hair. 1. Wow my hair looks great, now do something to my face! and 2. Can you come and do my hair for me every day? Well let's address the second comment there. Why do people prefer the way I do their hair? Several reasons that I will discuss through several different posts. Today I would like to talk about round brushing.

Round brushing does a lot of things. It gives volume, shine, and straightens hair all in one motion. So why wouldn't you always do it? It takes a long time and can be very exhausting, especially to do on yourself. So here is my little trick of the day.

Blow dry your hair until it is about 80% dry any way that is easiest for you. Then pin up the top section from the crown up. Finish blow drying the whole bottom as usual. Then let that top section down and round brush ONLY THAT SMALL SECTION. That way all the volume and shine will still be in the place where everyone sees it, and you only did a fourth of the work! Sure the whole head would be ideal, but we don't all have the time, patience, and strength for that on a daily basis. So cheat a little. It will be our little secret.