
Today we will be doing this:

Whenever you see a hairstyle you like try to break it down into easier parts. It can be overwhelming as a finished product but taking it a step at a time will always help. Also, always consider that you do not have the exact same head of hair as the person you are looking at. So your version will undoubtedly vary. Last, it can be tricky to recreate the same hairstyle twice, so you might not get piece for piece the exact look, but embrace what you have and put your personal spin on it. Let's get started!
Today I have two models helping us out. Kelsey is the real life person, and Jane is the sweet head that got me through my state board exams back when I took them. They both have very different hair types and neither have the hair of the girl in the above picture. So these styles will vary a bit but should give you the foundation to achieving this look.
You will need:
- ponytail holders
- bobby pins
- hairspray (aerosol of course)
- pomade
- Start by pulling your hair back into low pig tails, or even three ponytails.


2. Next, take a small section and spray it to make it more workable.

3. Twist section around in any direction creating a loop, open the bobby pin then insert it in to hold twist.


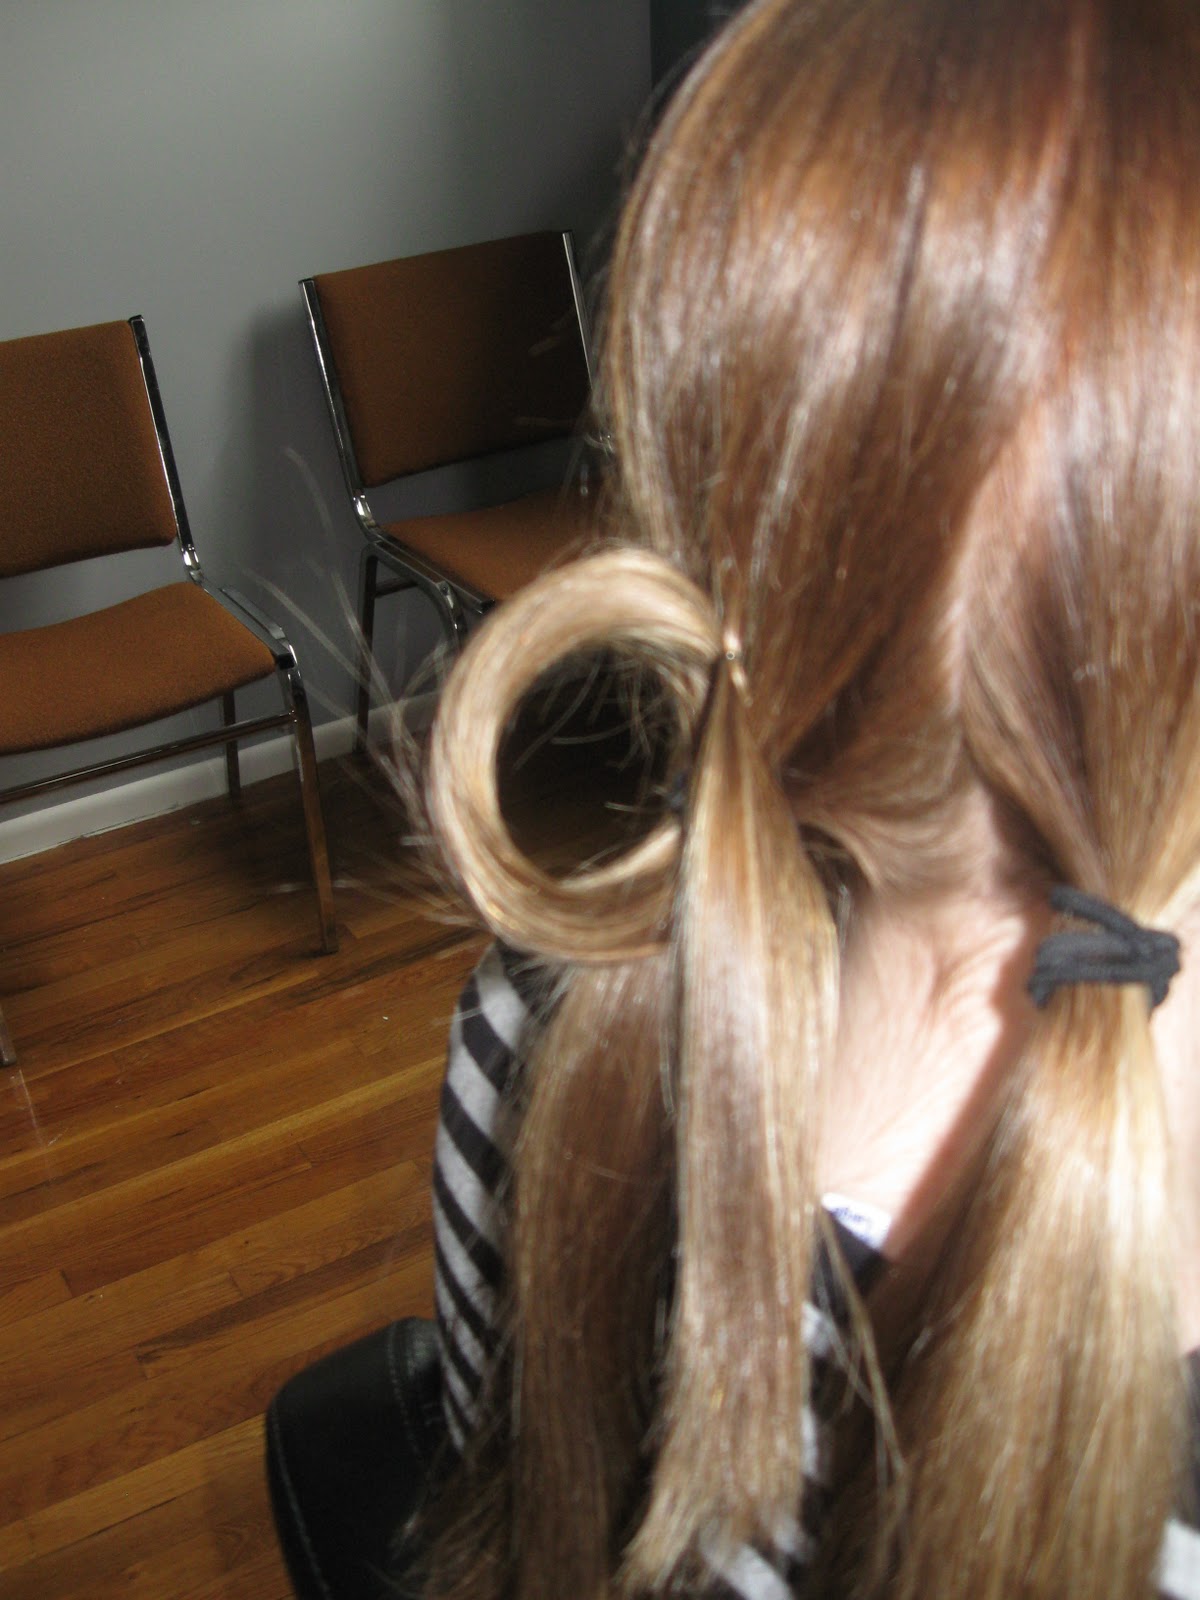

4. Continue twisting and pinning until the back of your head is evenly covered. The easiest way to do this on yourself is to just check the back of your hair with a mirror after a few twists to see where you have empty space to fill then place the next loopy twist there.


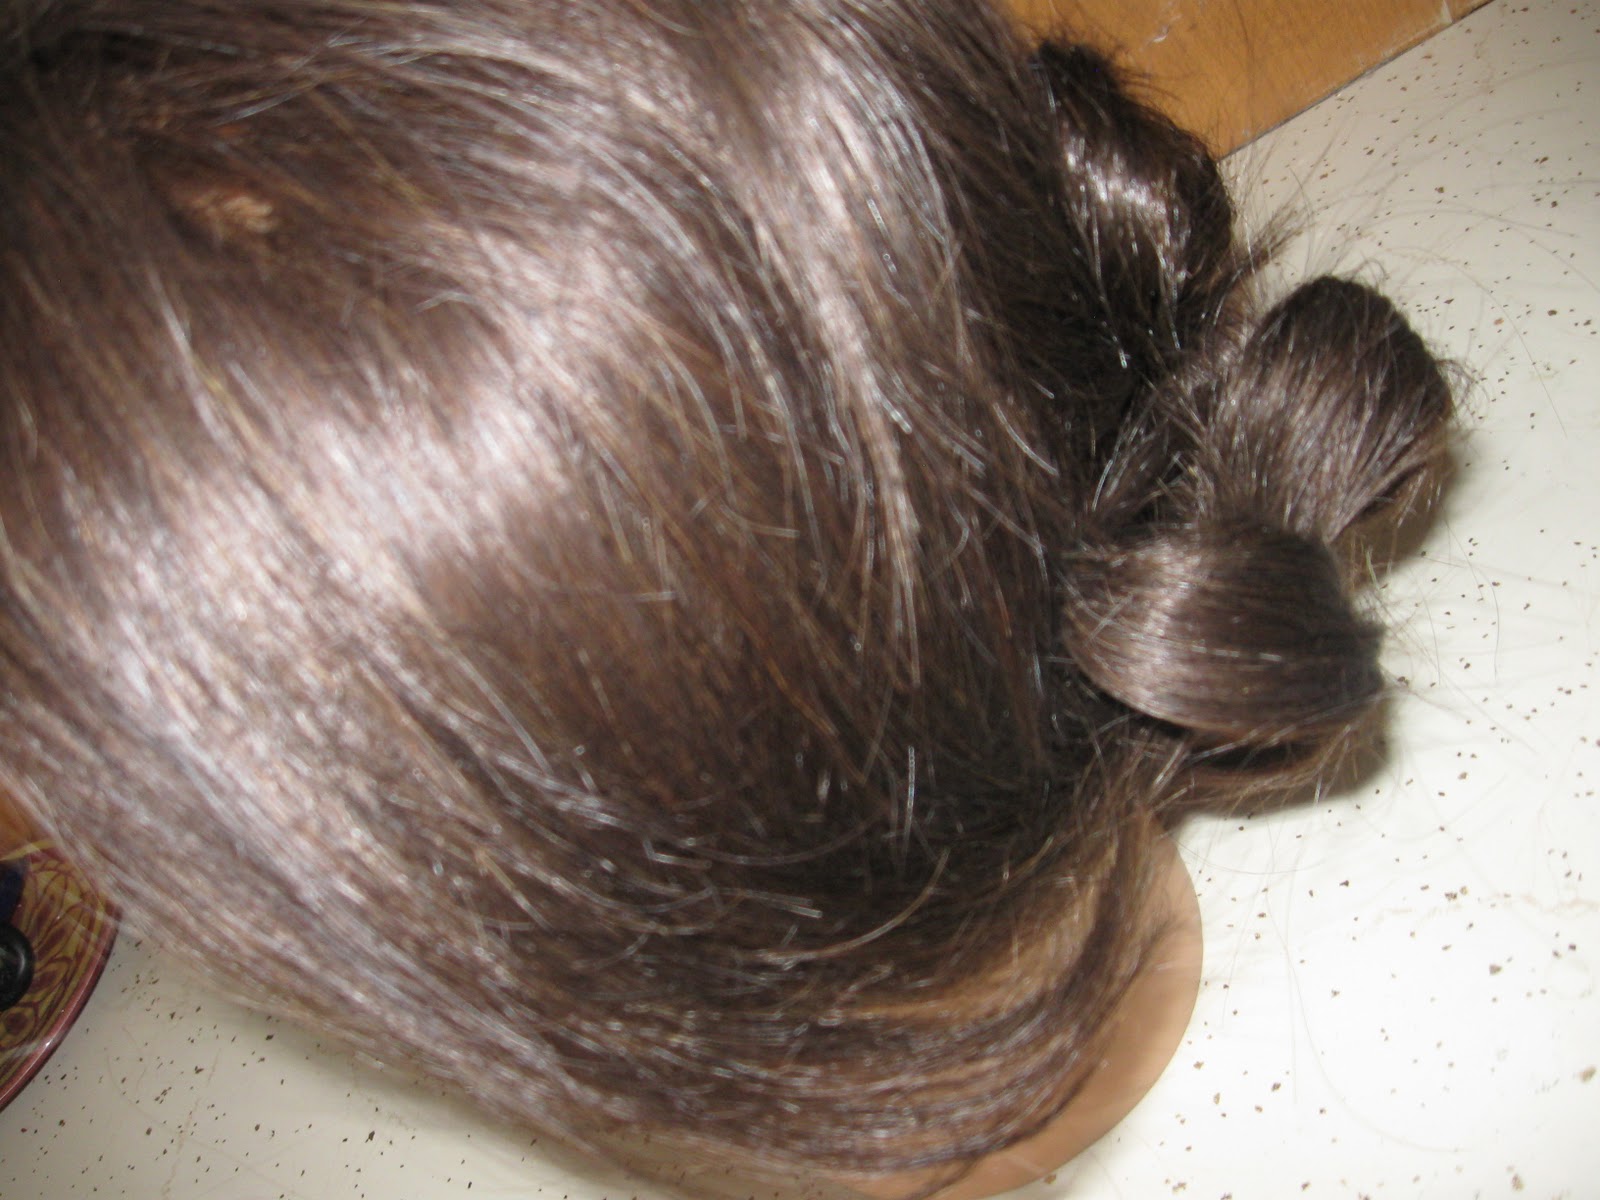
Poor Jane definitely did not quite have enough hair to pull off this style, and Kelsey's length made it end up a bit different as well, but like a said, embrace what you have and do your best! Doing your own hair can be far more challenging then on someone else. Be patient and just play around. For this style just remember to spray, twist, loop, pin and repeat. It doesn't have to be perfect. Just have fun!
And this concludes our first tutorial. Like I said, it can only go up from here right? Thanks for reading and please feel free to email me any requests or questions! Happy pinning!
yay! I am so going to try this! Thanks Julie!
ReplyDeletelooks great ;)
ReplyDelete